


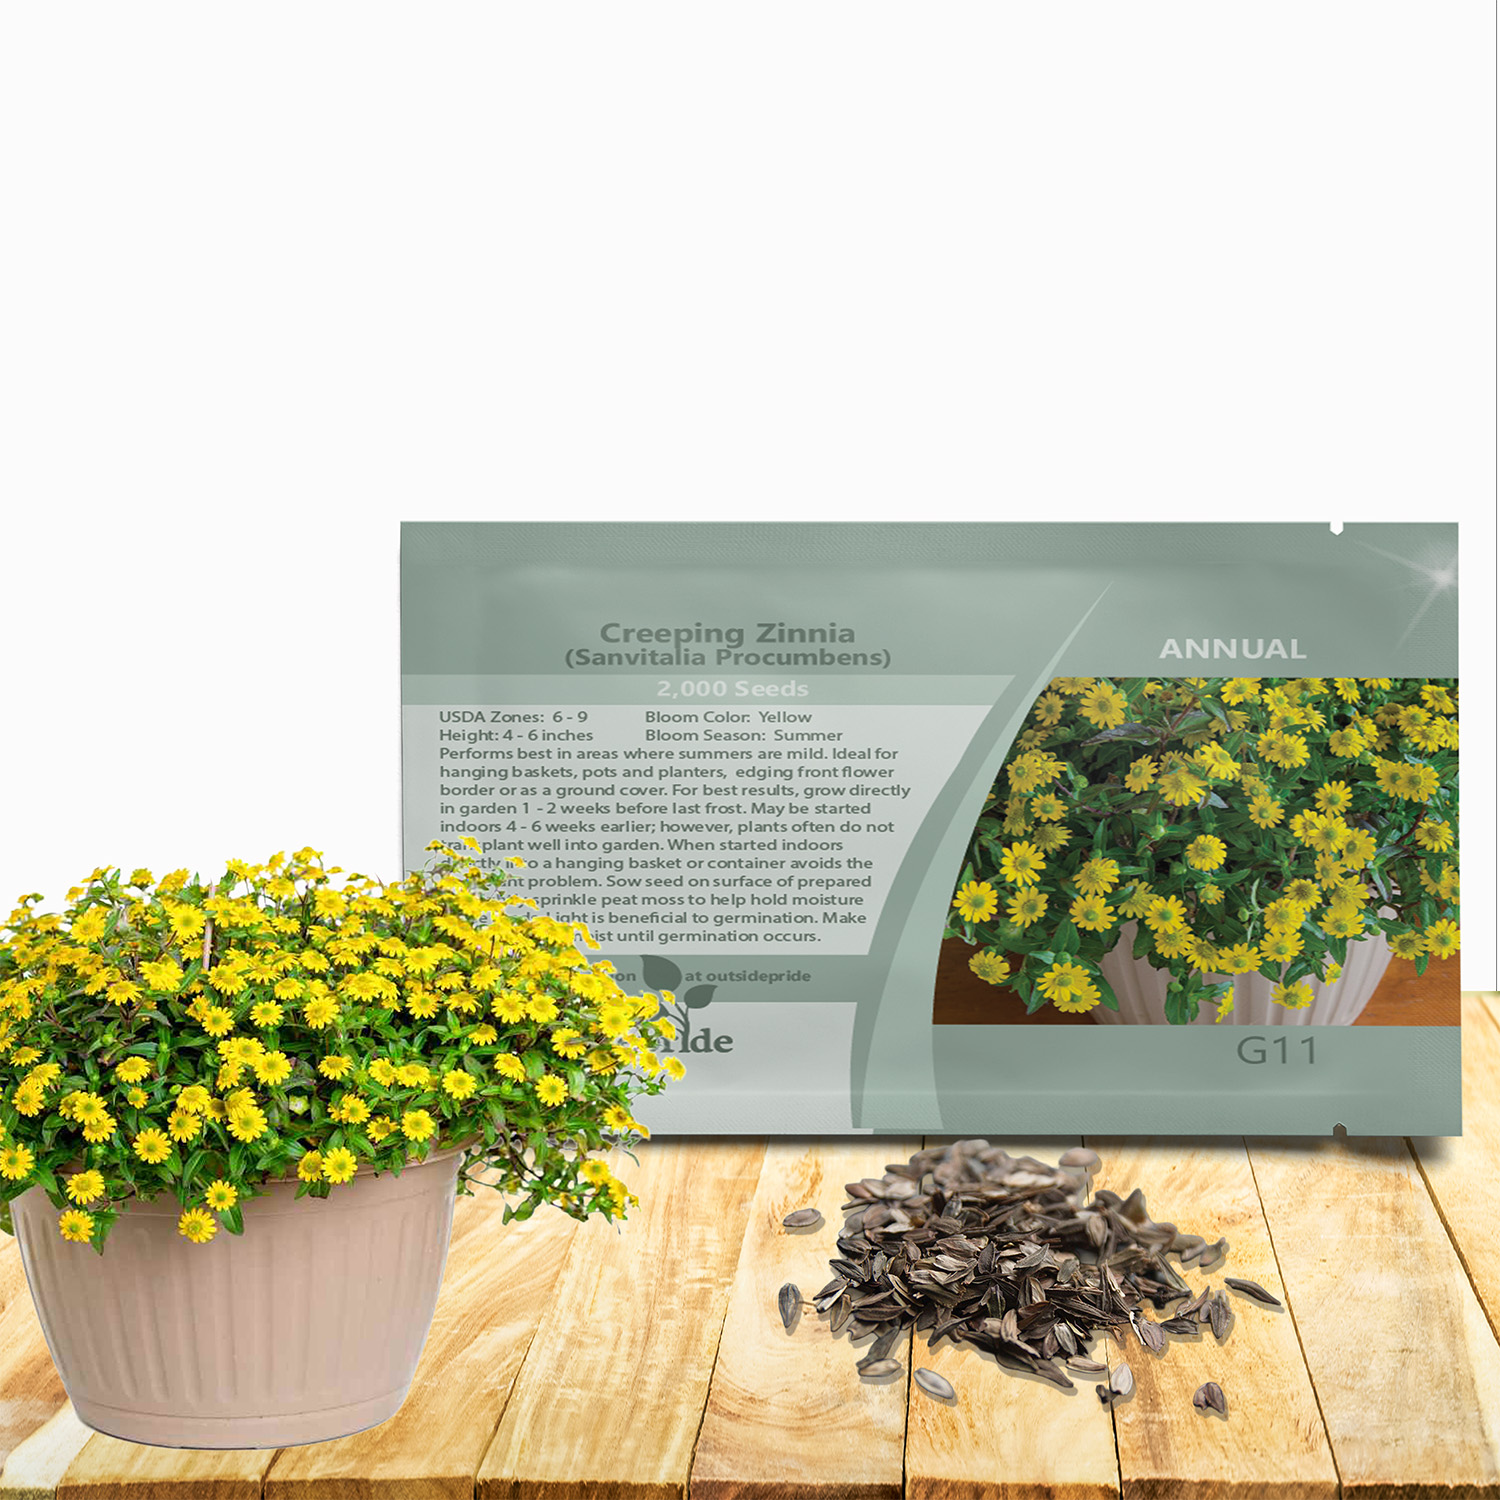


Creeping Zinnia Seeds

SEASON
Annual
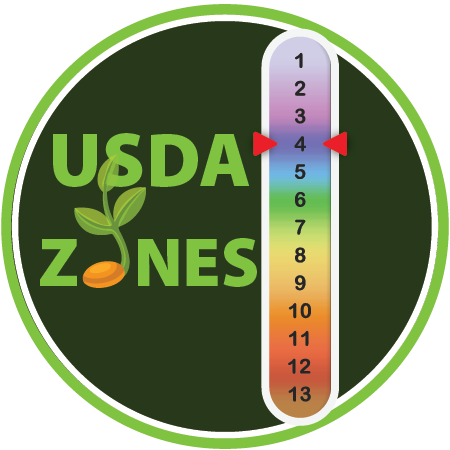
USDA ZONES
6 - 9

HEIGHT
4 - 6 inches

WIDTH

BLOOM SEASON
Summer

BLOOM COLOR
Yellow

ENVIRONMENT
Full sun

SOIL TYPE
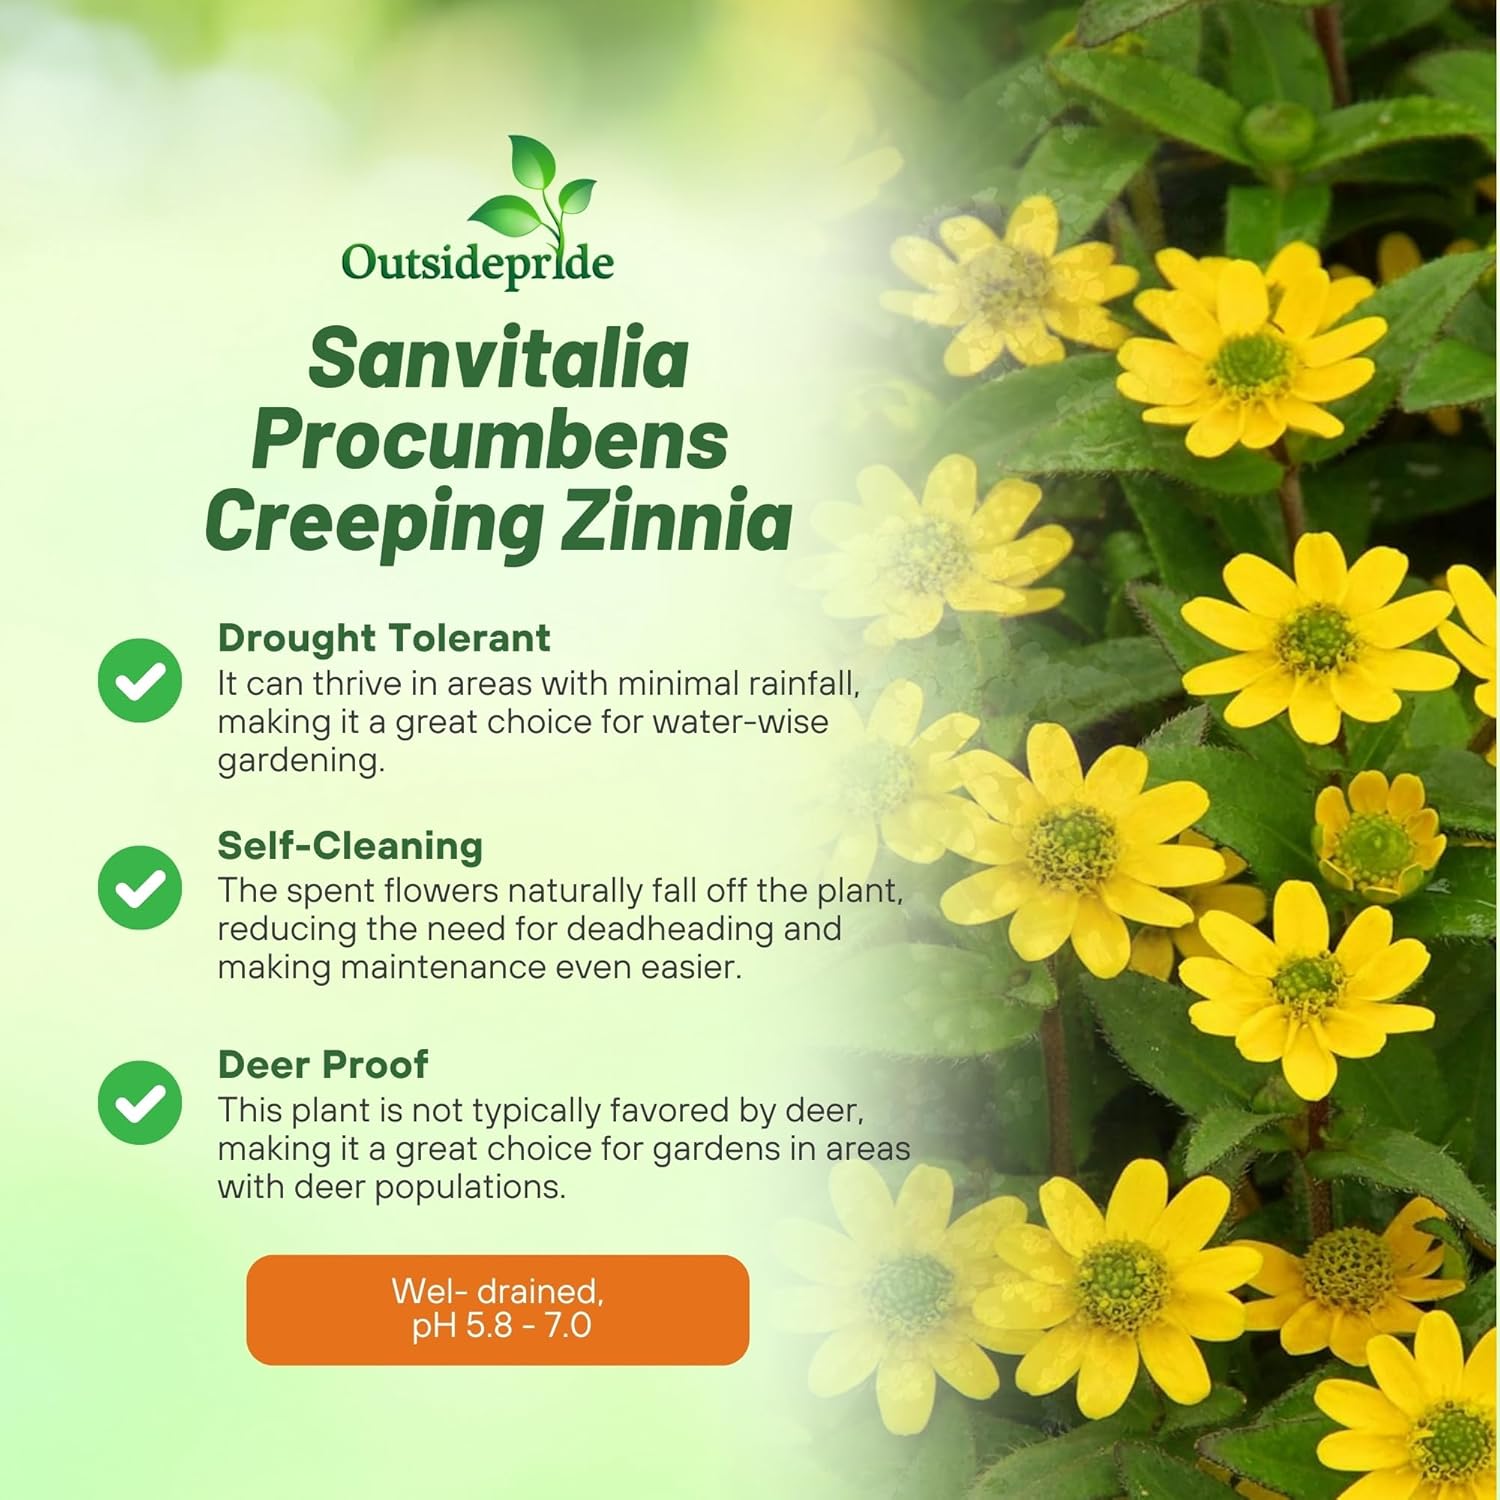
Well-drained, pH 5.8 - 7.0

DEER RESISTANT
Yes

About...
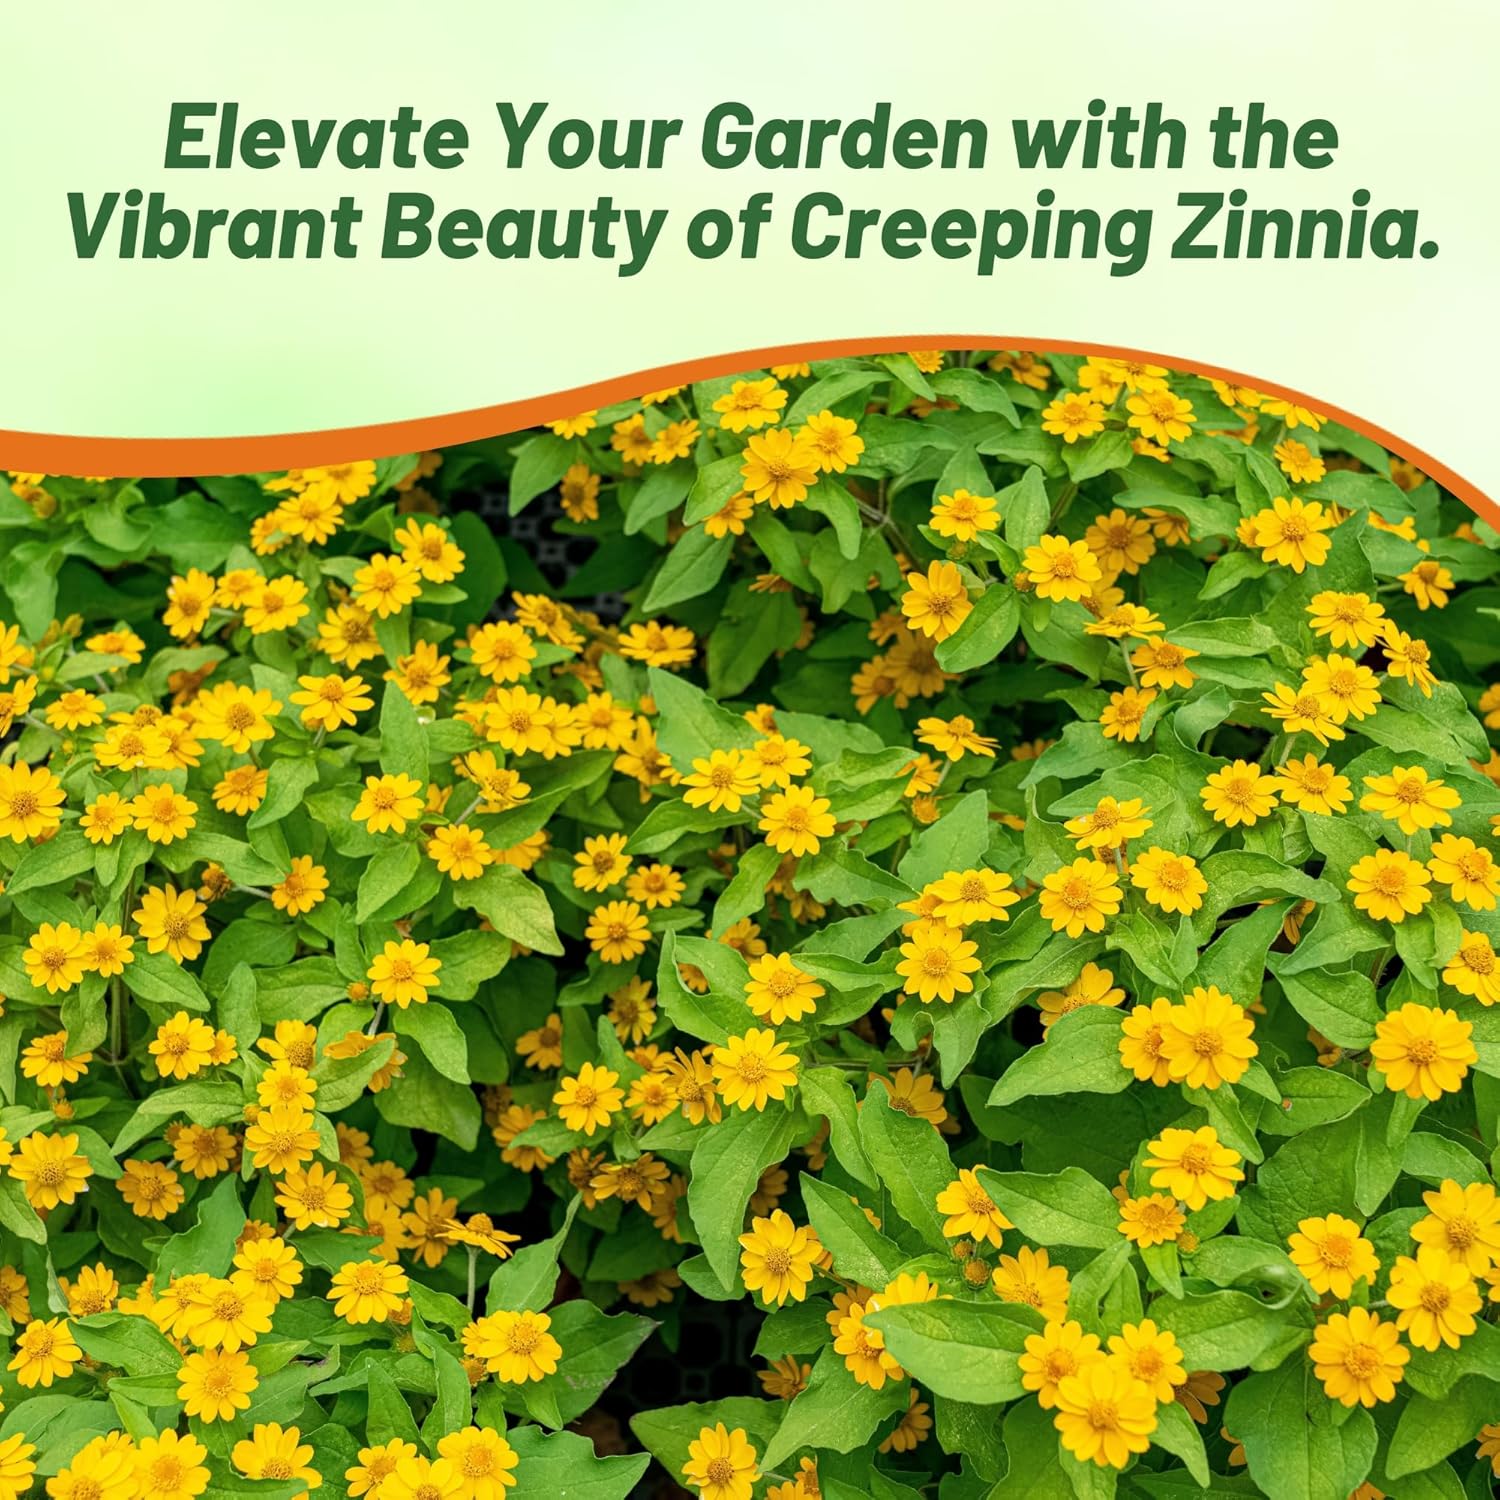
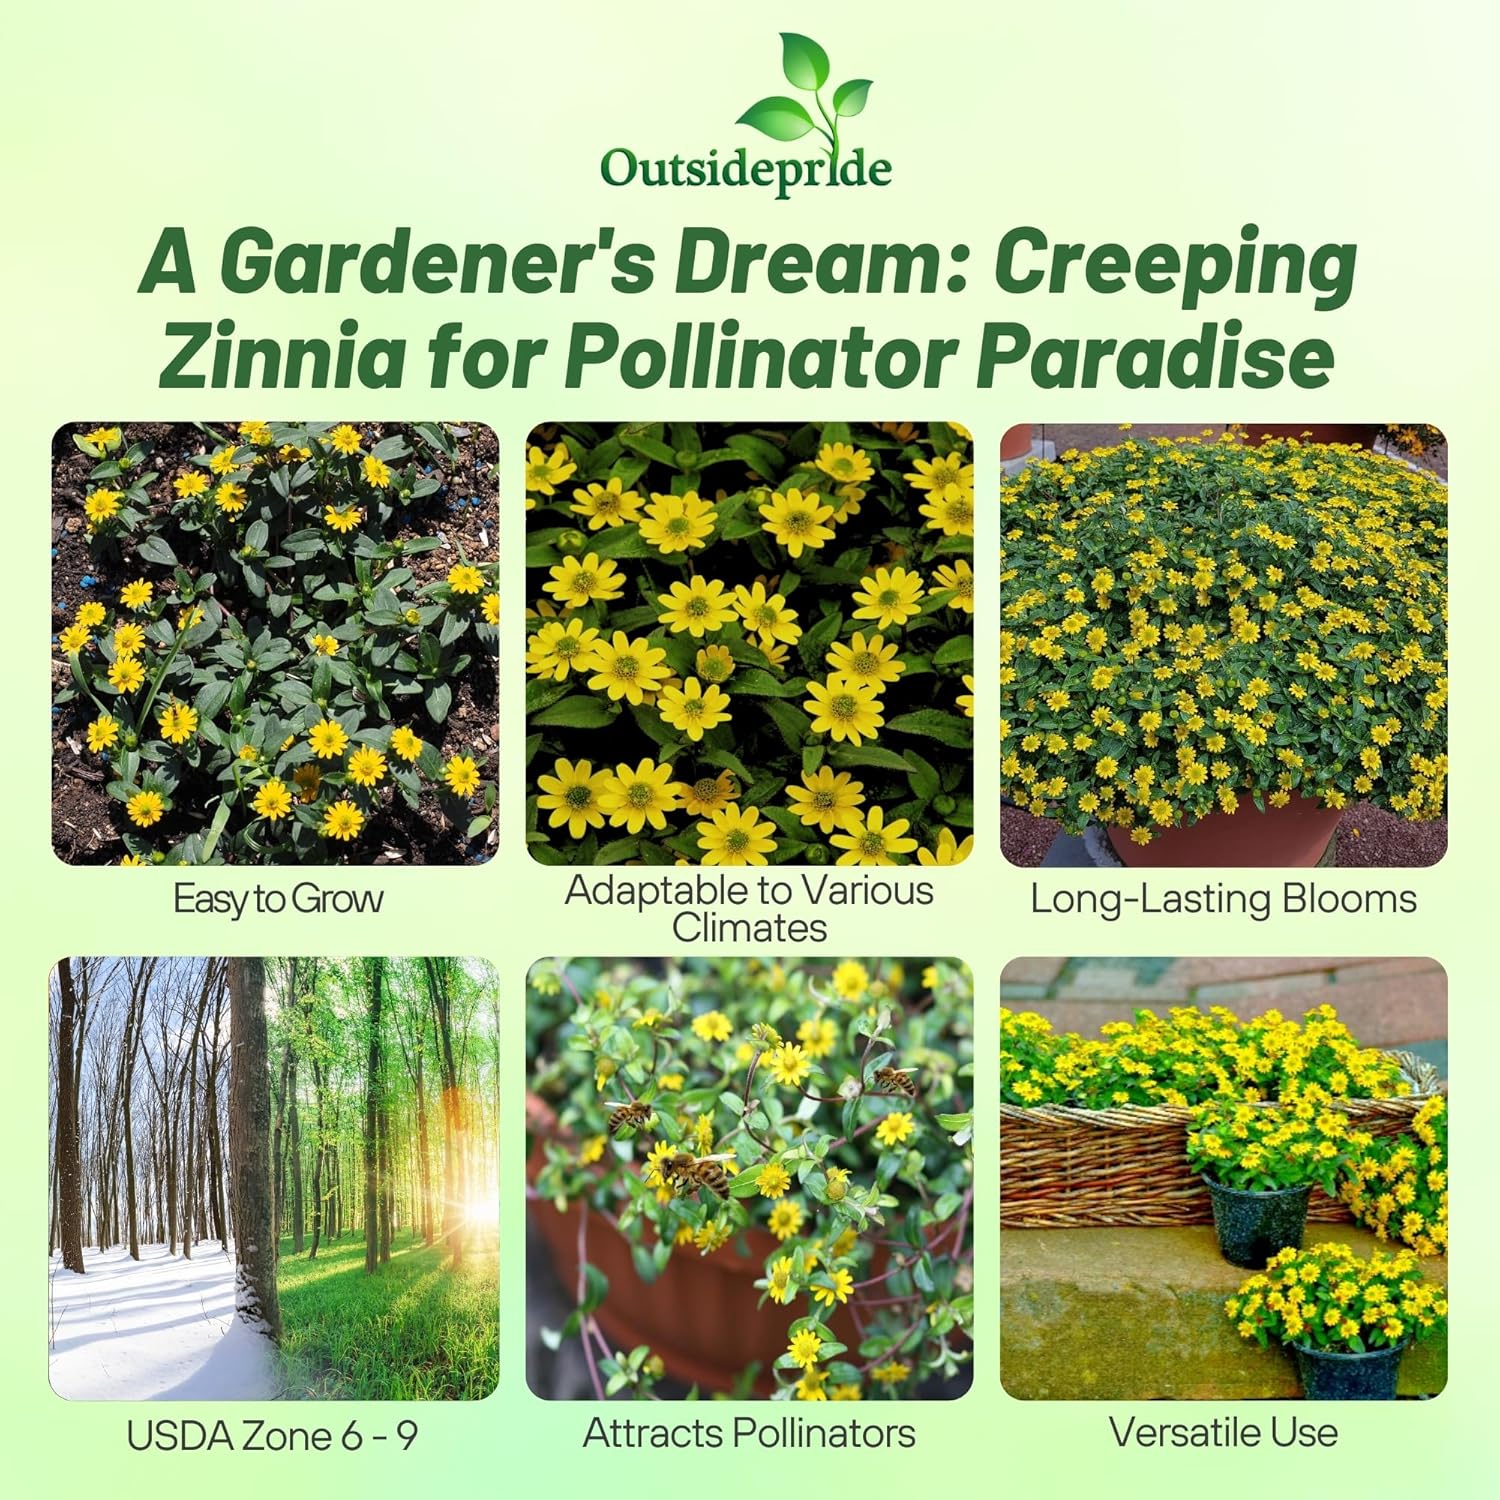
Creeping Zinnia (Sanvitalia Procumbens) - What a delightful flowering ground cover plant! So easy to grow from Creeping Zinnia seeds, and what charm and beauty if offers all summer long. Sanvitalia Procumbens Creeping Zinnia is a low-growing, mat-forming annual that spreads 12 - 18 inches making it ideal for a summer ground cover.
MORE GROUND COVER OPTIONS

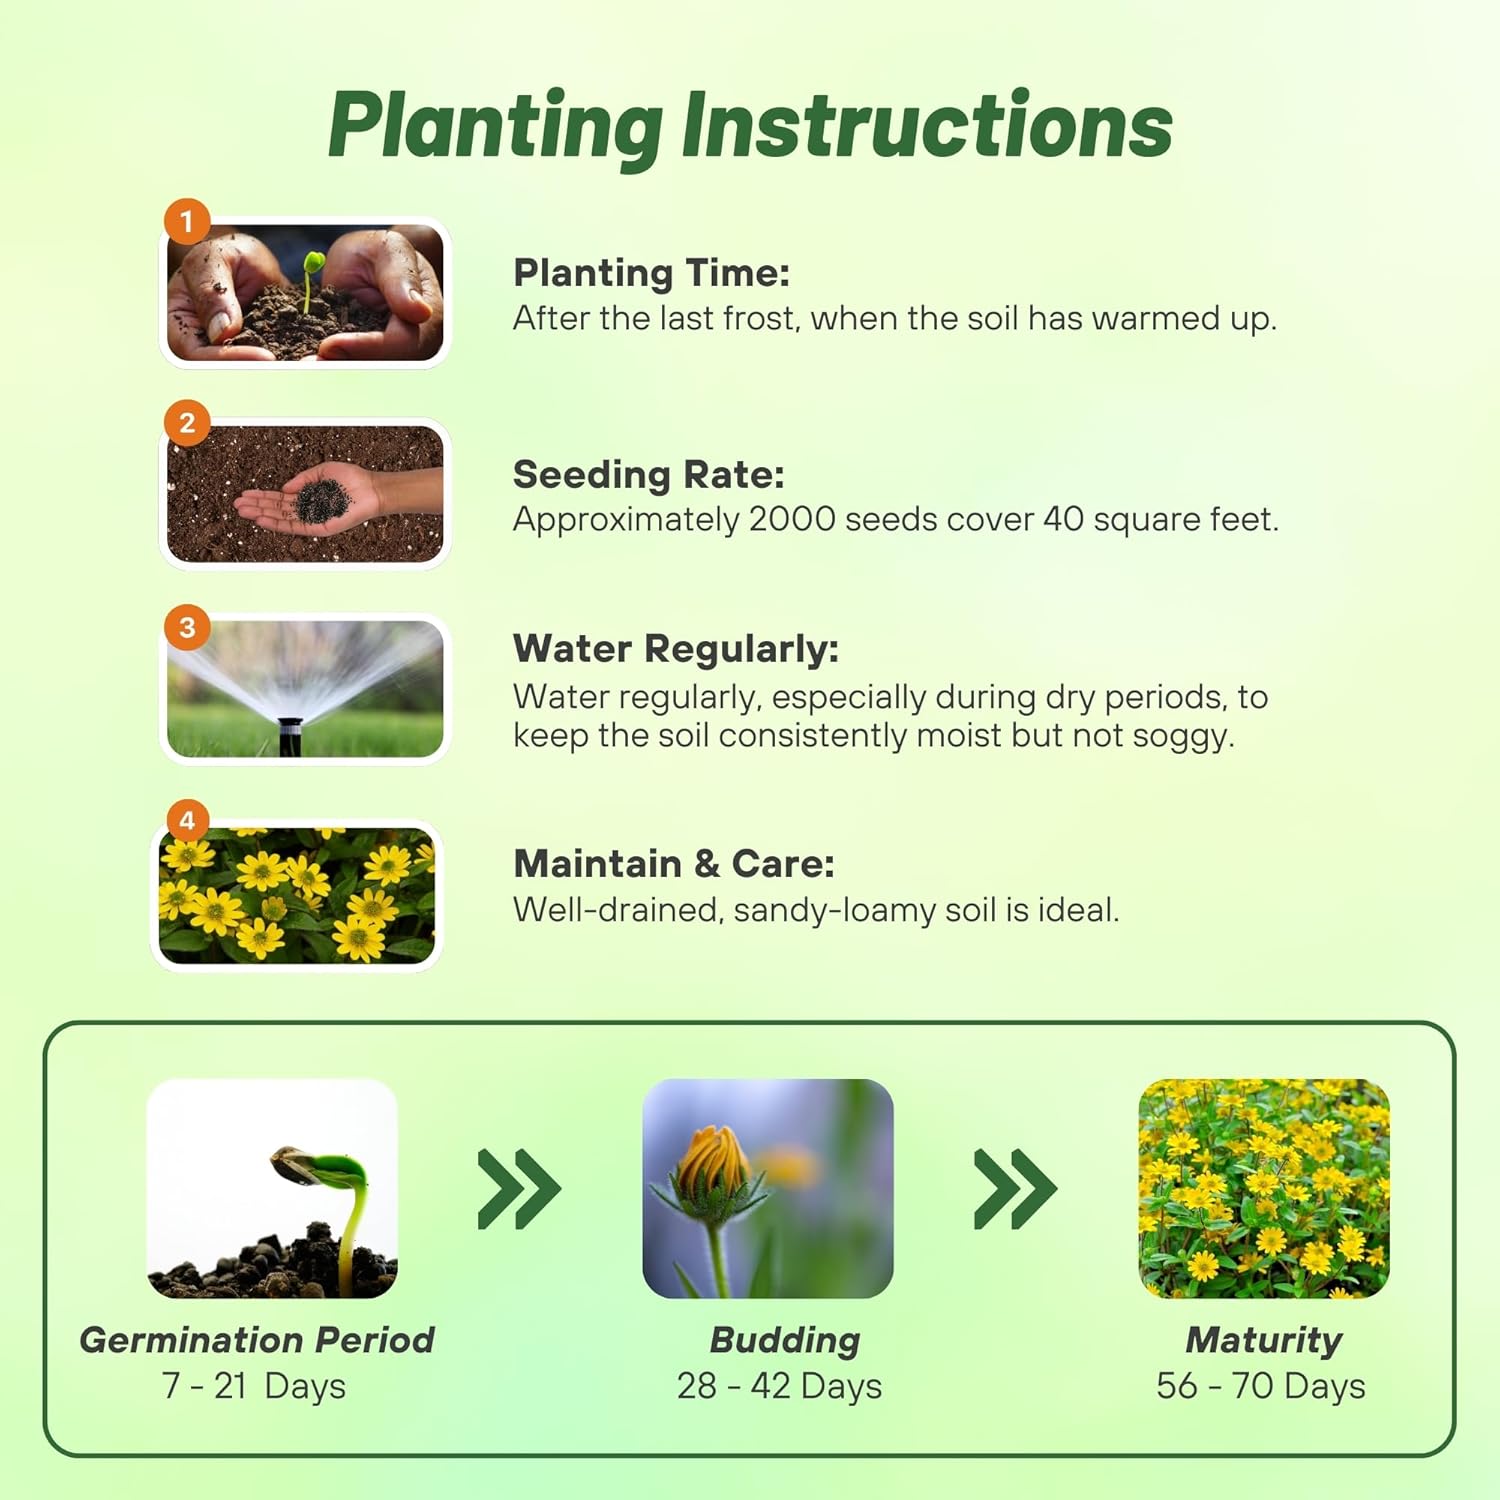
Planting Directions

TEMPERATURE
70F

AVERAGE GERM TIME
7 - 21 days

LIGHT REQUIRED
Yes

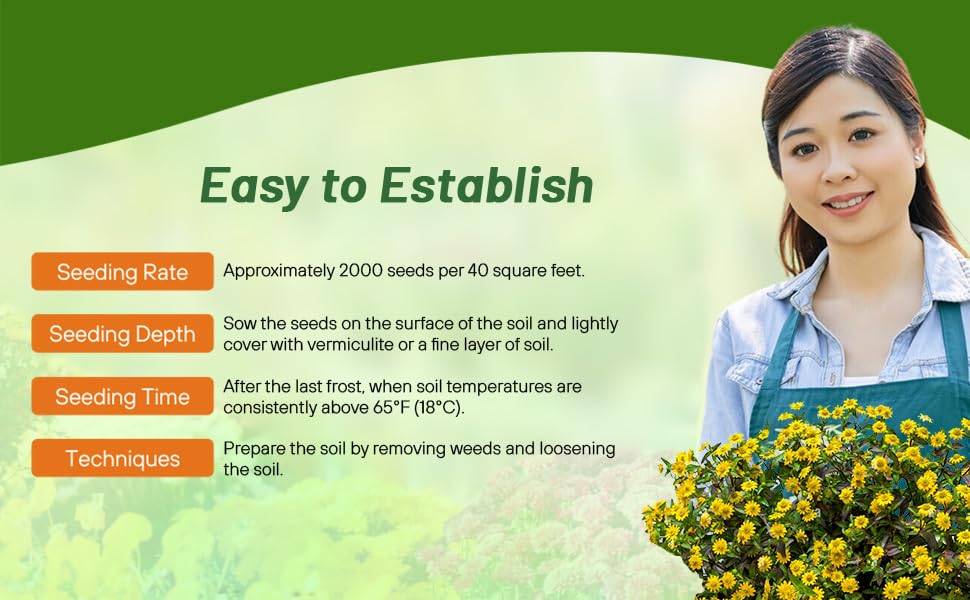
DEPTH
Cover seed lightly with peat moss

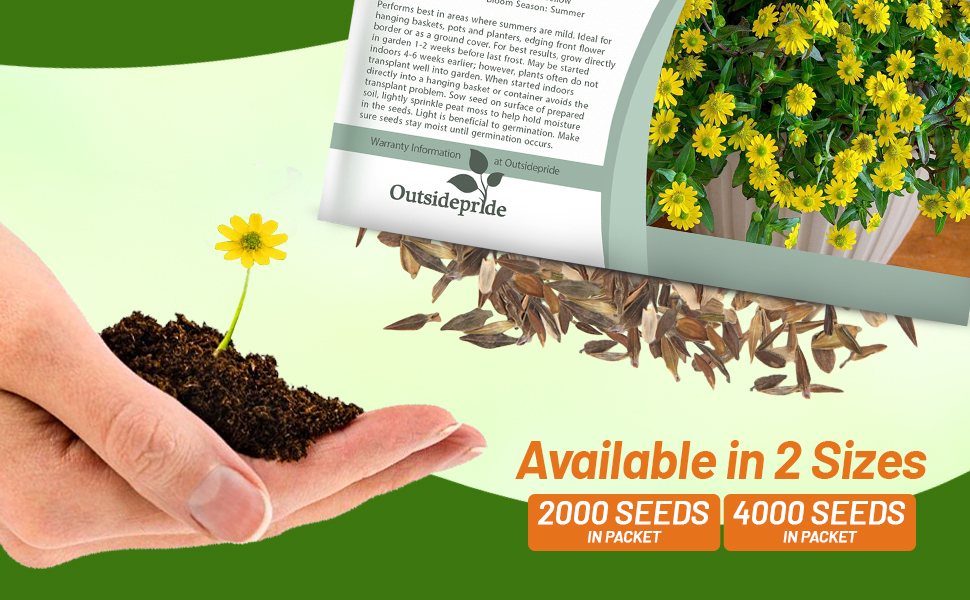
SOWING RATE
Approximately 2000 seeds covers 40 square feet

MOISTURE
Keep soil slightly moist but not wet until germination

PLANT SPACING
15 - 18 inches
NOTE
For detailed directions for indoor and outdoor planting, please ...more For detailed directions for indoor and outdoor planting, please Click Here...less
CARE & MAINTENANCE
Creeping Zinnia...less

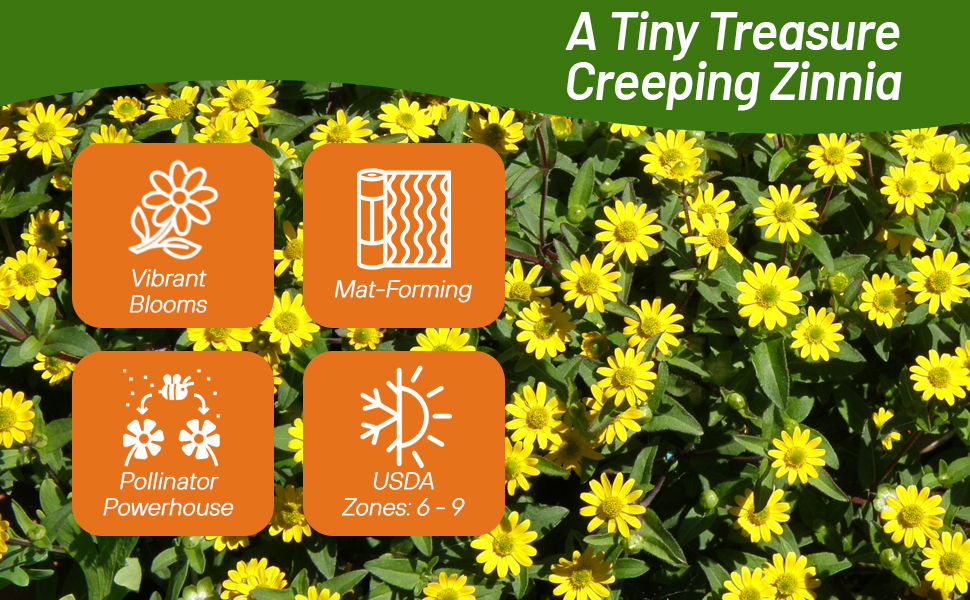
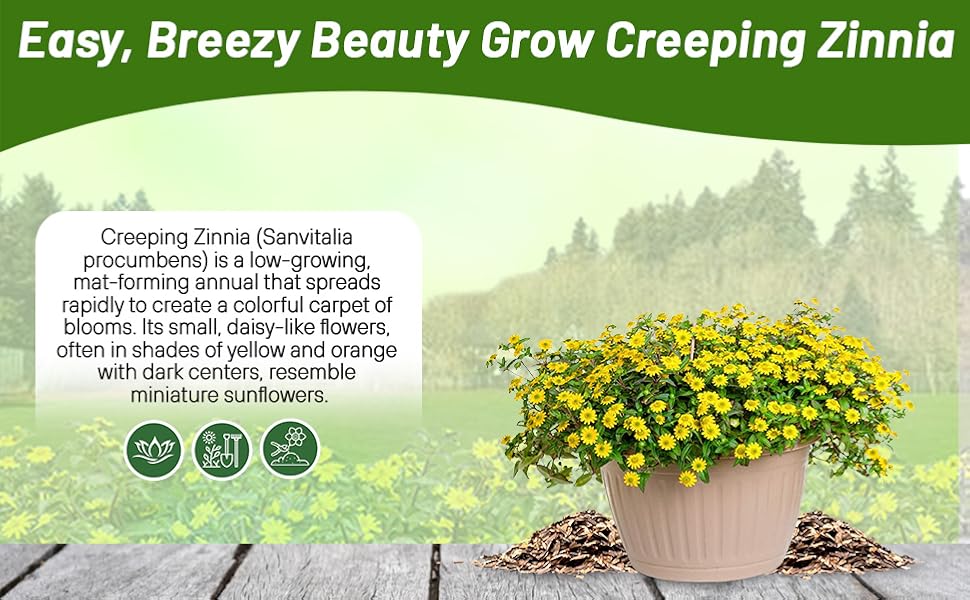
Creeping Zinnia (Sanvitalia Procumbens) - What a delightful flowering ground cover plant! So easy to grow from Creeping Zinnia seeds, and what charm and beauty if offers all summer long. Sanvitalia Procumbens Creeping Zinnia is a low-growing, mat-forming annual that spreads 12 - 18 inches making it ideal for a summer ground cover. The trailing little plants create a profusion of 3/4 inch semi-double orange flowers with dark centers. They look like mini-sunflowers!
Common Questions
Does creeping zinnia make a good landscape plant?
Yes, these flowers make lovely ground covers and can be used in containers.
Do flowers have a fragrance?
No, these flowers are known for their attractive cheerful flowers not their fragrance.
Do I need to deadhead my spent blooms?
Deadheading will promote fuller blooms.
Videos