


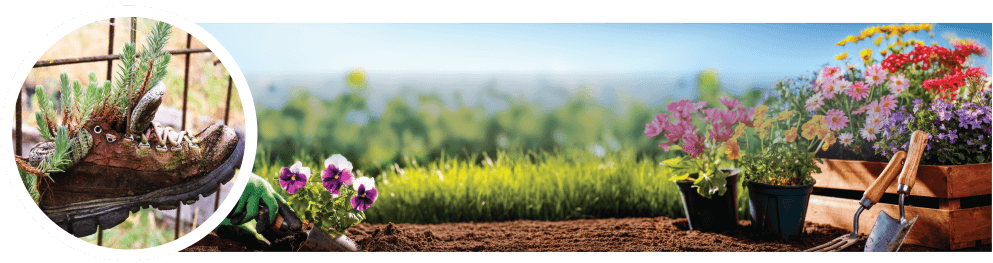
Canterbury Bells Planting and Care Guide

Quick Facts About Canterbury Bells
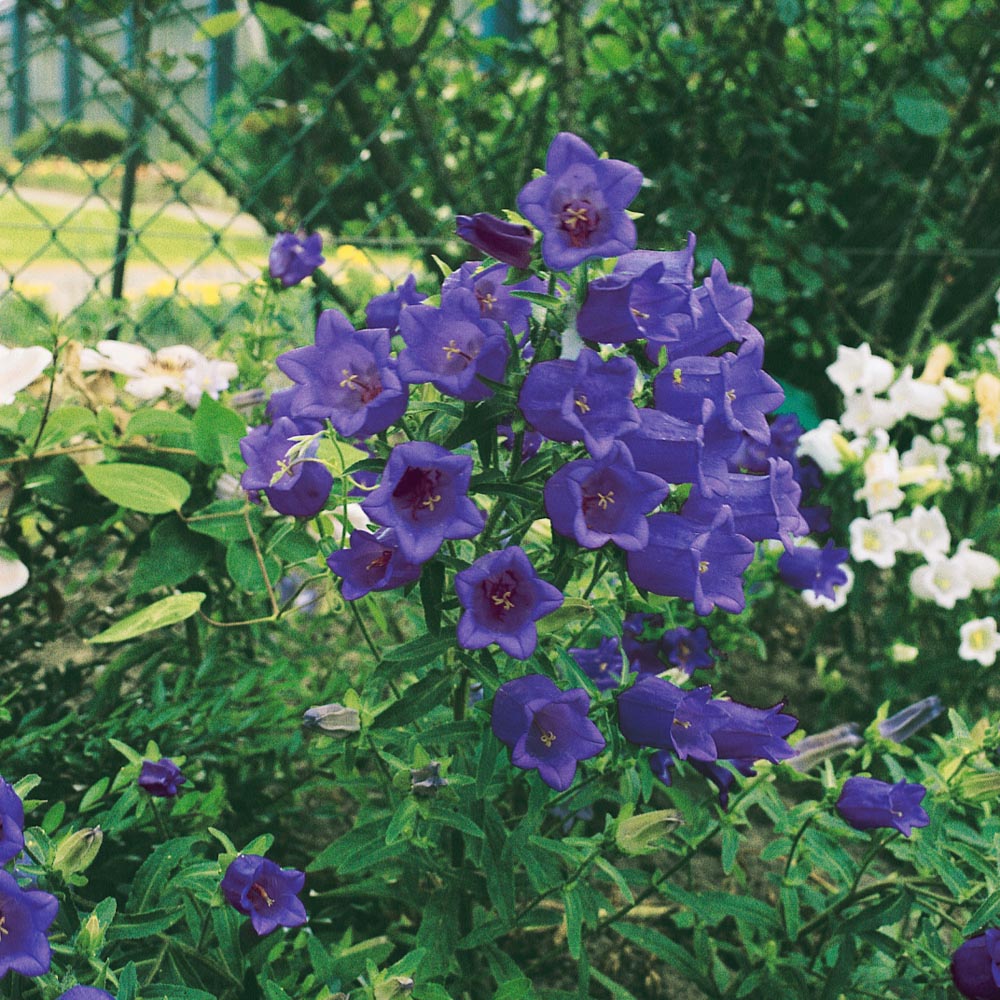
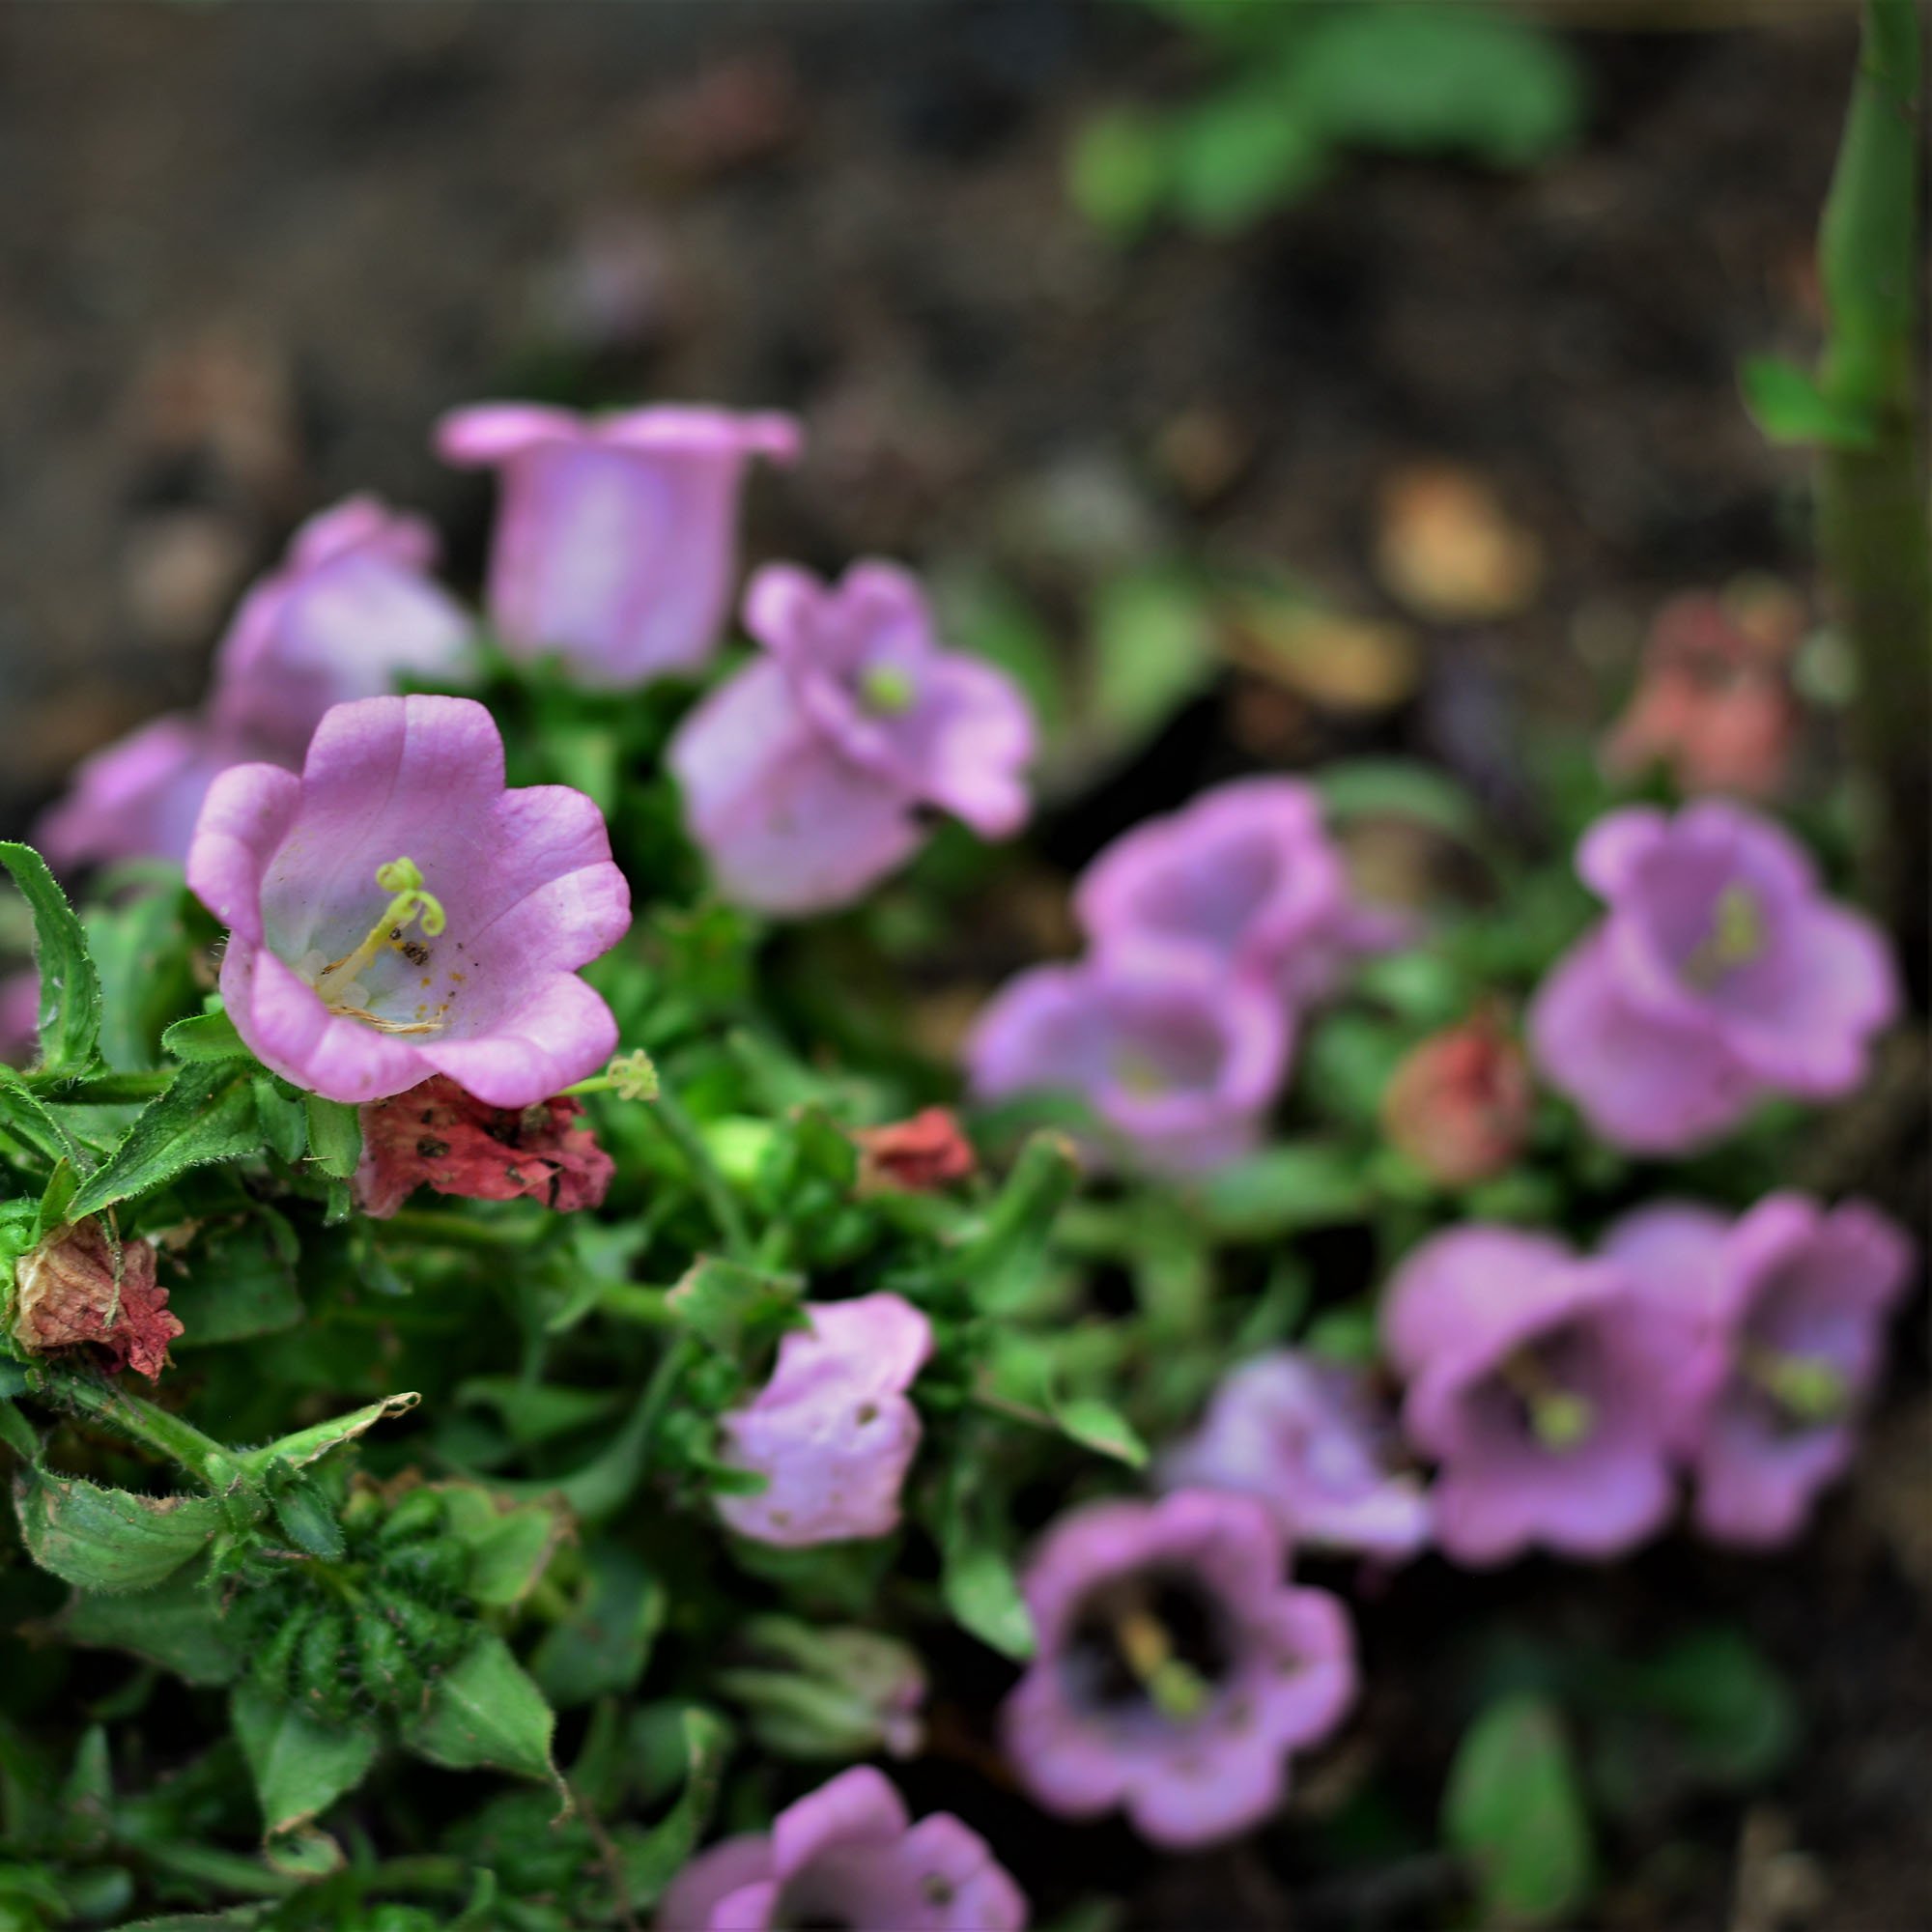
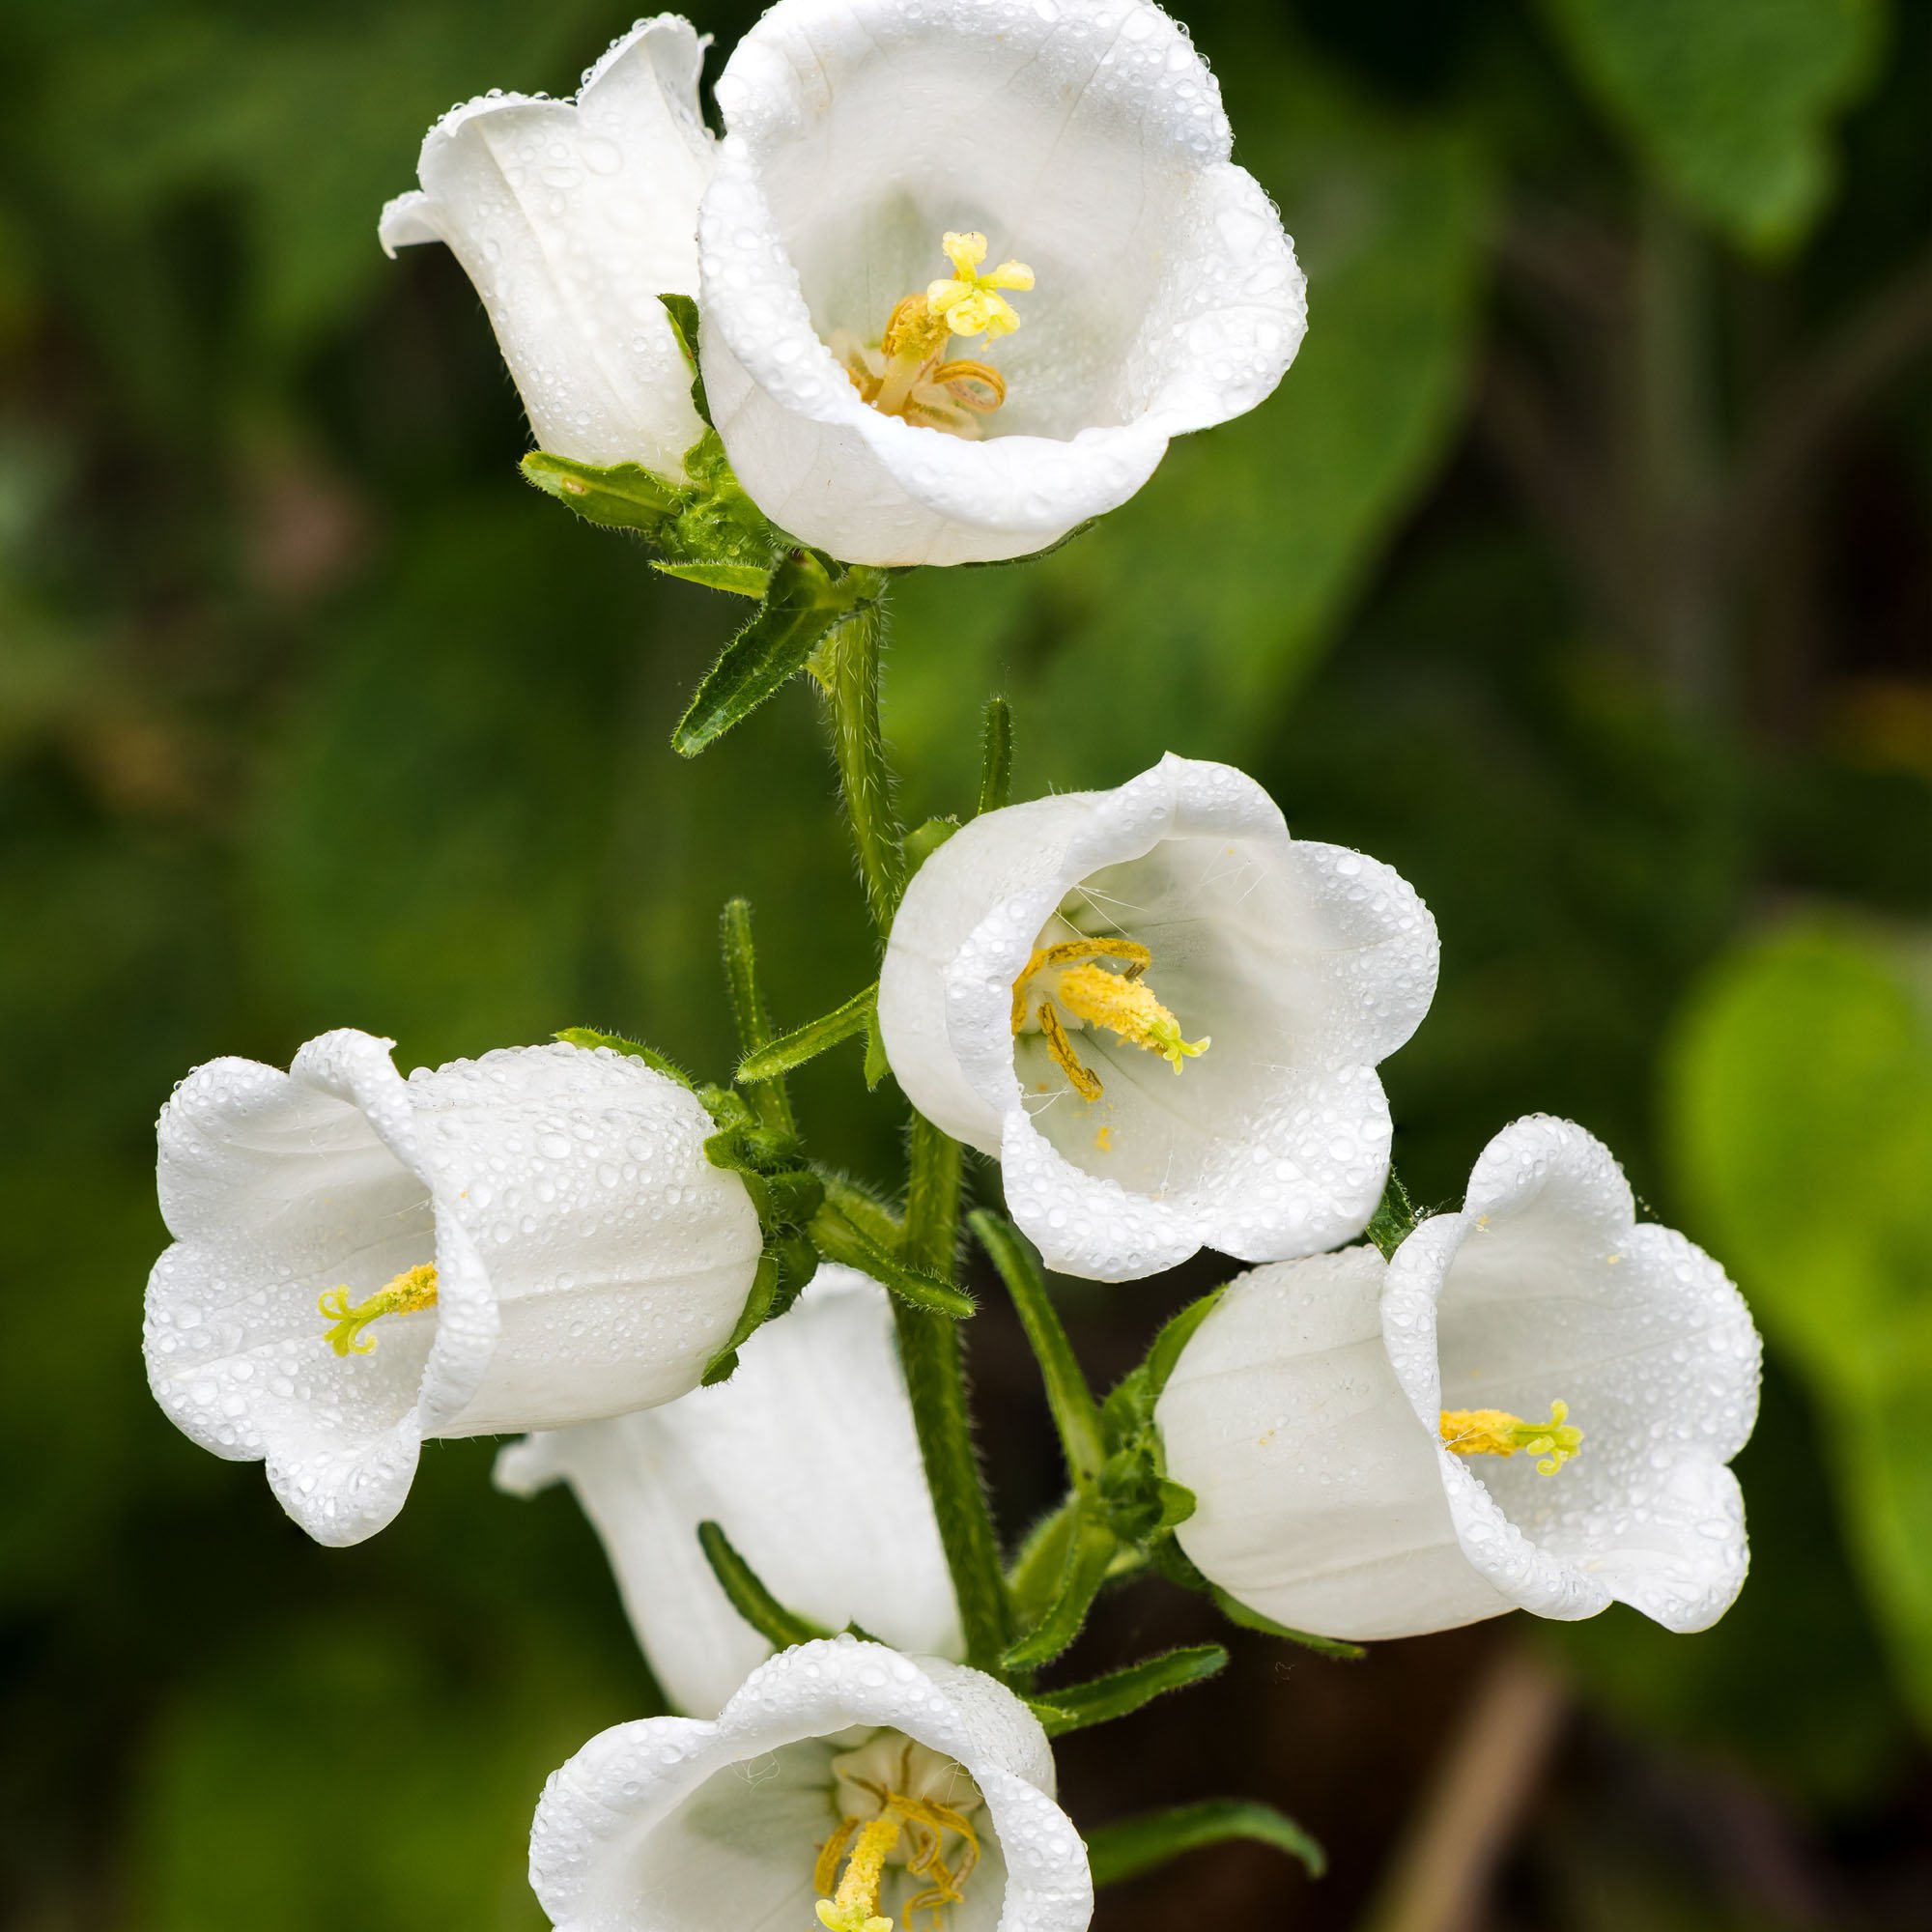
An old-fashioned, cottage garden favorite, Canterbury Bells are wonderful for garden color in late spring and early summer. They also make great cut flowers and grow in containers well. The flowers are not only beautiful, but they're attractive to pollinators, and hummingbirds and bees will love them.

Planting Time
Start the seeds indoors 6 - 8 weeks before the end of frost season. Or, directly sow the Canterbury seeds outdoors after the last frost.

Planting Location
Canterbury plants thrive in full sun to partial shade. The soil should be fertile, moist, and drain well.

How to Plant Canterbury Bells
- Start the Canterbury seeds in starter trays
- The flower seeds need light for germination so press the seeds into the soil but do not cover
- Light and moisture are needed for germination - provide irrigation to keep the soil constantly and evenly moist
- Harden the young plants off for 7 - 10 days prior to planting out
- The plants can be transplanted outdoors after frost danger has passed
- Or, work the garden soil to a depth of 6 - 8 inches
- Add compost to improve the soil
- Sow the seeds directly on the surface and press the seed in but do not cover
- Keep the flower seed evenly and consistently moist
- Thin to strongest plant every 10 inches

Care And Maintenance
- Water the Canterbury plants regularly during the growing season
- Provide a balanced fertilizer in the spring - like a 10-10-10
- After blooming, trim back the spent stems
- Provide protection or support from wind
- The first year will produce a rosette of leaves which will die back in the winter
- The Canterbury plant will grow again in the spring and produce its flowers
- Allow a few flowers to go to seed to keep a consistent display of flowers each growing season